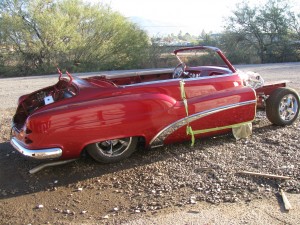
Bob’s 52 Buick Road Master
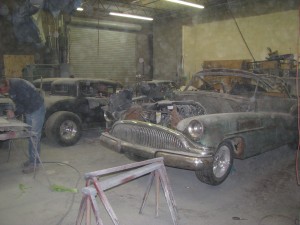
This car came to us a few years ago and had been in a fire and left to die a long and slow death. For rust was eatting it away. The floor was gone and the bottom 1/3 of the car was in baddddd shape. We have cut, molded, fabbed and made alot of this car. We hope you enjoy the remake of the now outstanding ride.
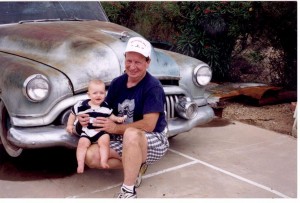
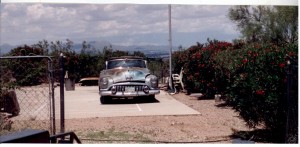
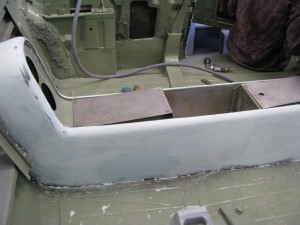
We made and installed the new floors.
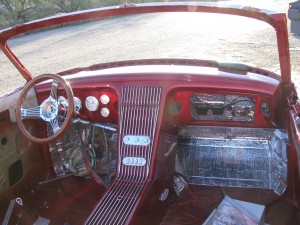
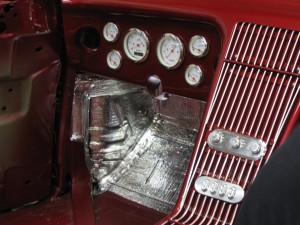
We are now starting the custom work on the in side. The dash & the console will come alive.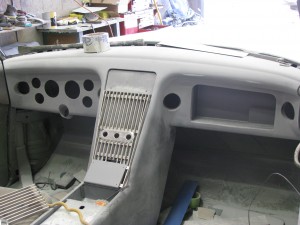
In the console we have put the flip up tv /camera screen, a/c & heat controls, starter, window controls and the air ride controls. That way every thing is out of site.
Making the inside clean and classi
So while one guy is working on the console, lets see what’s going on with the front bumper and grill.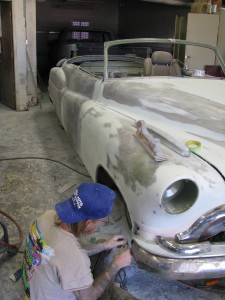
We are cutting the front bumper to make a split bumper and we will have to fab them in. Then we’ll have to fab in the grill. As we go through this we will be changing the total beauty line of the car.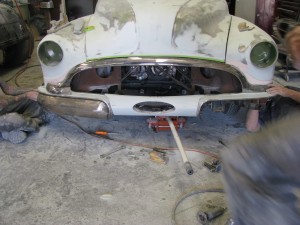
lets see how the console is coming along.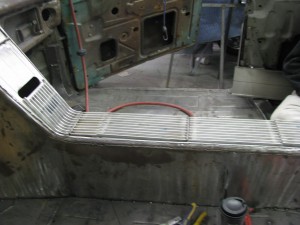
We have also cut and split the back bumper. Fabbed them in and putting in the camera system. Took out the long tail lights and fabbed in double tear drops. 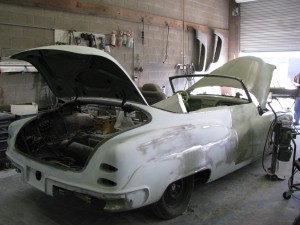
If you know 52 Buicks you would under stand that the back 1/4 panels would be attached by bolts, we have change so many thing and so we welded them in.
Now lets look at the old engine compartment and the new firewall.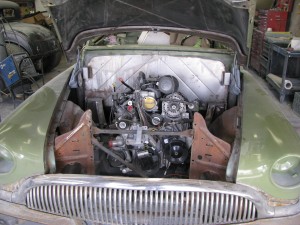
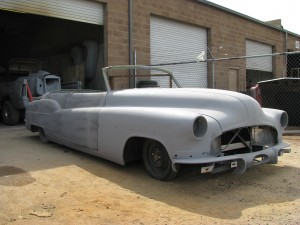
We have completed the outter body fabricating and we’re ready to start body working and paint.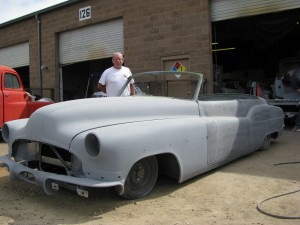
We took the emblem out of the hood and put it between the split front bumpers. We also put a full air ride system in and this car sets about 2″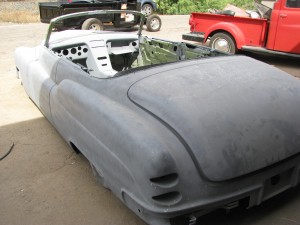 off the ground.
Body work is done and we have got the first coat of paint on.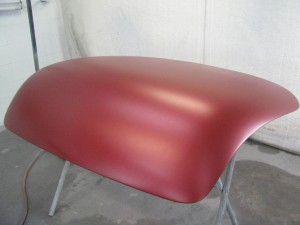
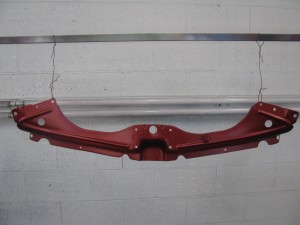
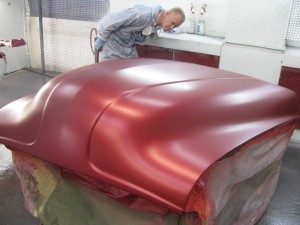
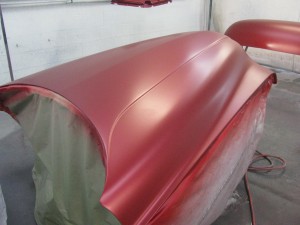
Lets see it with clear coat on.
Looking great.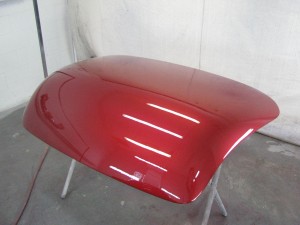
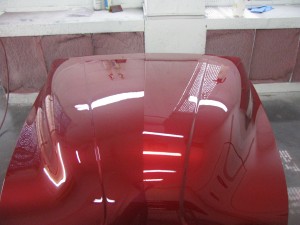
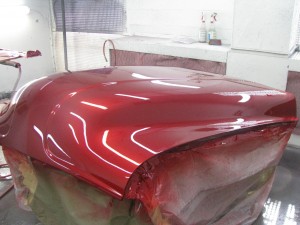
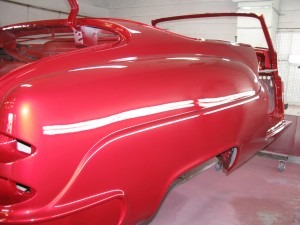
More to come as we start putting it all back together.
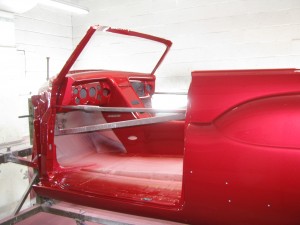
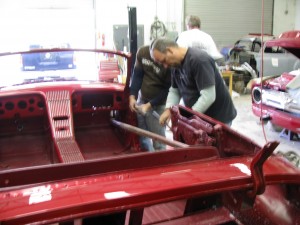
With it being a conv. we’ll be bracing it up to support and keep the body straight while we get it all back together.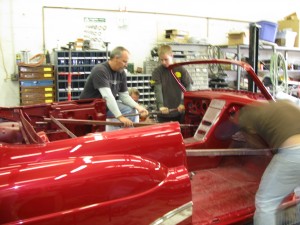
We are brassing up the sides to keep it staight, because it is a convertible.
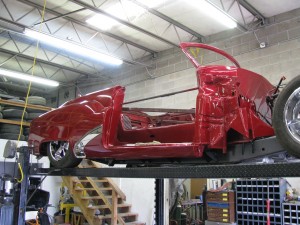
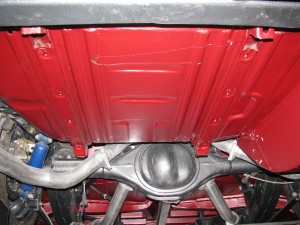
We’ll take a look at the bottom of the car now.
We sprayed it with a liner coating to match the color of the paint.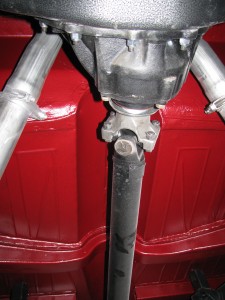
Ok lets get back to reassembling this hot ride.
Sorry we have not gotting more pics up for a while, thinks do get crazy once in a while. So here are a few more. Enjoy……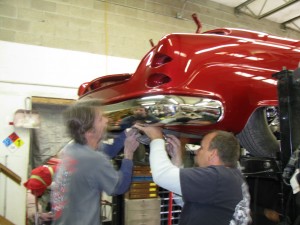
It’s time for this great ride to go back together.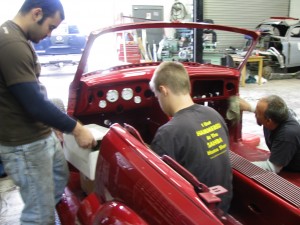
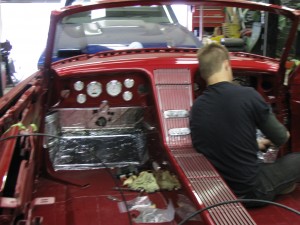
Here’s a look at the air ride system.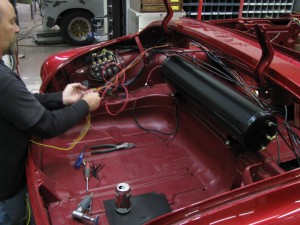
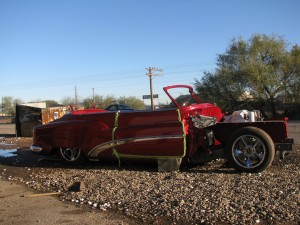
First look at the car as a roller. How Cool It That?
